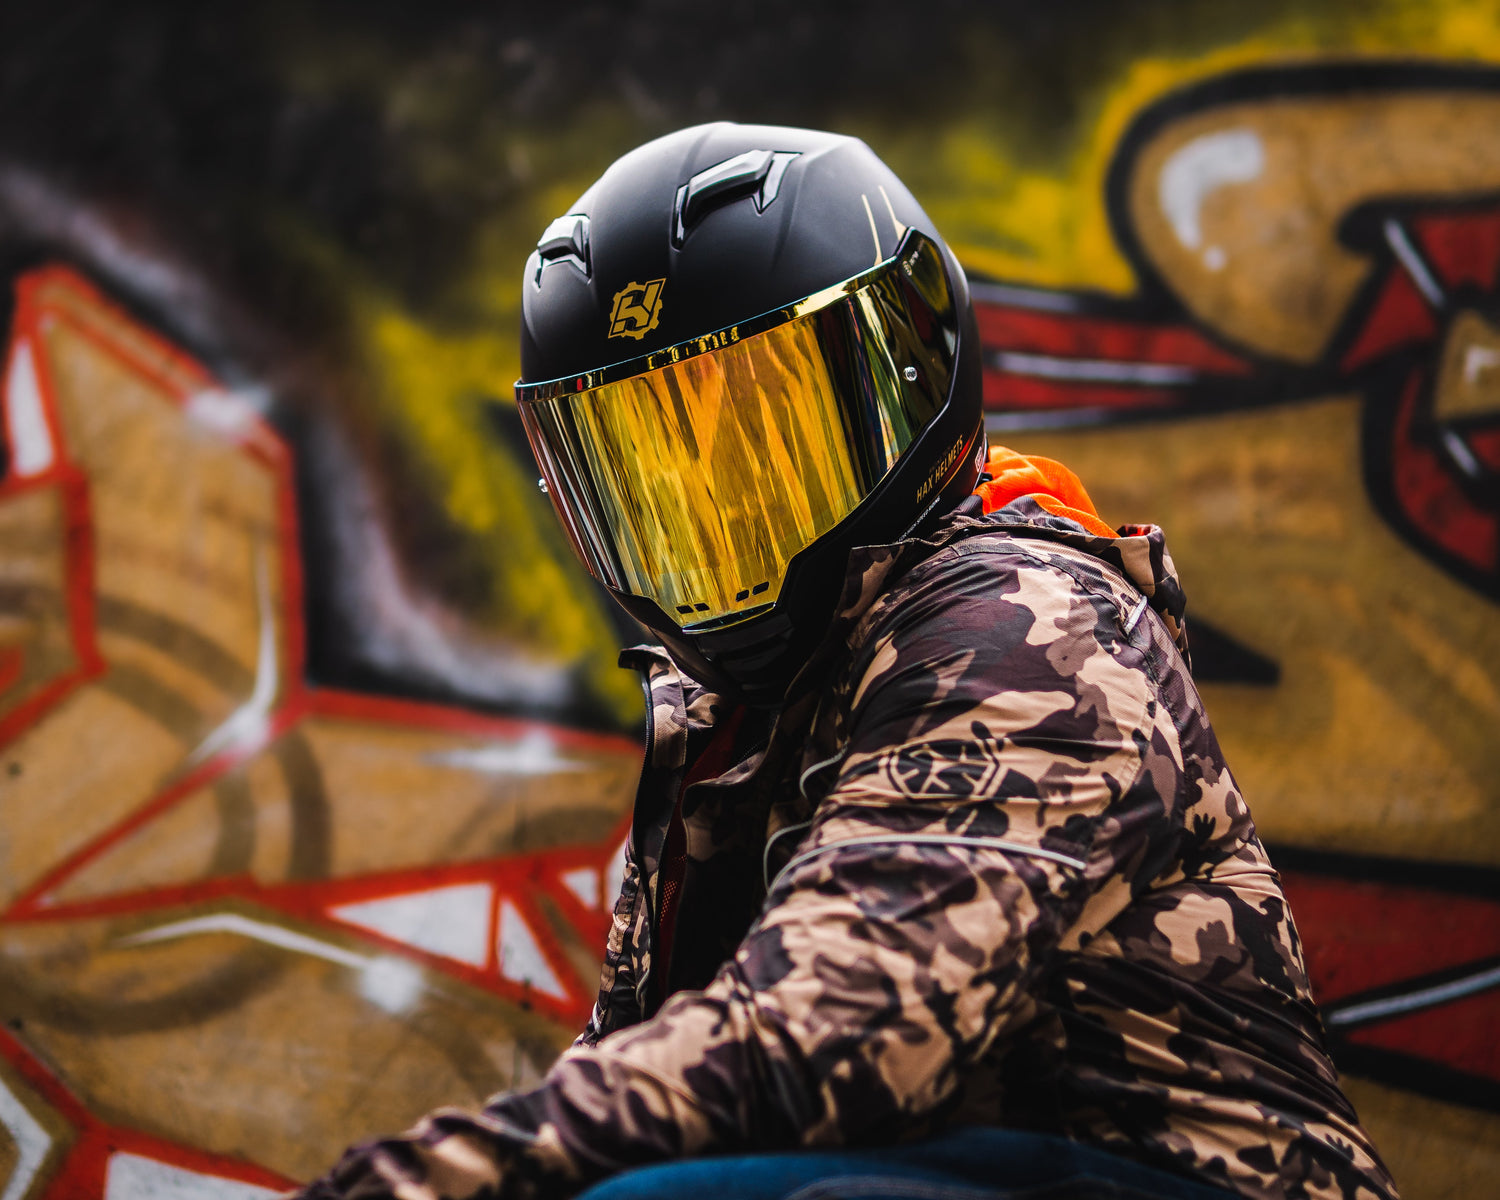
How to Paint a Motorcycle Helmet
Painting a motorcycle helmet can be a rewarding DIY project that allows you to express your personal style while giving your gear a fresh look. Whether you want a sleek, minimalist design or a vibrant, intricate pattern, customizing your helmet is a fun way to stand out on the road. Here’s a comprehensive guide on how to successfully paint your motorcycle helmet.

1. Gather Your Supplies
Before you begin, gather all the necessary materials:
Materials Needed:
- Motorcycle Helmet: Ensure it's clean and in good condition.
- Sandpaper (400-600 grit): For surface preparation.
- Masking Tape: To cover areas you don’t want to paint.
- Paint Primer: Choose a suitable primer for plastic surfaces.
- Spray Paint: Use high-quality paint designed for plastics.
- Clear Coat: A transparent sealer to protect your design.
- Paint Brushes or Sponges: For finer details.
- Stencils (if desired): To create specific shapes or designs.
- Drop Cloth or Newspaper: To protect your workspace.
- Cleaning Supplies: Soap and water or isopropyl alcohol for cleaning.
2. Prepare Your Workspace
Choose a well-ventilated area to work in, ideally outdoors or in a garage with good airflow. Lay down a drop cloth or newspapers to protect the surrounding surfaces from paint overspray.
3. Clean the Helmet
Start by thoroughly cleaning your helmet with soap and water or isopropyl alcohol to remove any dirt, oils, or old paint. Let it dry completely before proceeding.
4. Sand the Surface
Using fine-grit sandpaper, gently sand the surface of the helmet. This helps the paint adhere better and creates a smoother finish. Be careful not to sand too aggressively, as you don’t want to damage the helmet’s structural integrity. Wipe down the helmet with a clean cloth after sanding to remove any dust particles.
5. Mask Off Areas
If you're planning to paint only certain sections of the helmet, use masking tape to cover the areas you want to protect from paint. This is particularly important for visors, vents, or any logos you want to keep intact.
6. Apply Primer
Spray a light coat of primer over the helmet, holding the can about 6-12 inches away to avoid drips. Allow the primer to dry as per the manufacturer's instructions. A primed surface will help enhance the paint's adhesion and longevity.
7. Start Painting
Now comes the fun part! If you’re using stencils, position them carefully on the helmet. When painting, use light, even coats and allow each coat to dry before applying another. This will help prevent runs and ensure an even finish. Aim for about 2-3 coats for solid coverage.
Tips:
- For a gradient or airbrushed look, gradually blend colors while the paint is still wet.
- Keep the spray can moving to ensure an even application.
- Work on one side at a time if necessary, allowing the paint to cure before flipping it over.
8. Add Details
If you’re planning to add any artwork or finer details, use paint brushes or sponges to enhance your design after the base colors have dried. You can draw patterns, flames, or even your name—whatever you feel represents your style.
9. Apply Clear Coat
Once you're satisfied with your design and everything has dried completely, finish up with a clear coat to protect your hard work. Spray a thin layer, allowing it to dry—and then apply a second layer for added durability.
10. Remove Masking Tape
Carefully peel off the masking tape while the clear coat is still slightly tacky, if possible. This helps to ensure clean edges. If you wait until it’s completely dry, you risk pulling off some of the paint.
11. Cure and Safety Check
Allow your helmet to cure fully for several days in a cool, dry spot out of direct sunlight. Before using the helmet, inspect it for any areas where the integrity of the safety features may be compromised.
12. Show Off Your Work!
Once your helmet is thoroughly dried and cured, it’s time to show it off! Put it on and hit the open road with pride, knowing you’ve created a one-of-a-kind helmet that reflects your personality.
Painting a motorcycle helmet can be an enjoyable and creative process. Not only do you end up with a personalized accessory, but you also gain a greater appreciation for the level of craftsmanship that goes into helmet design. Just remember to prioritize safety over aesthetics—your helmet is primarily a protective gear. Happy painting, and ride safe!
