
How To Choose Your Motorcycle Helmet?
Marketing Xprite
Riding a motorcycle is an exhilarating experience, but safety should always come first. One of the most crucial pieces of gear for any rider is a helmet. Choosing the right motorcycle helmet not only enhances comfort and style but, more importantly, provides the best protection in case of an accident.
In this guide, we'll walk you through everything you need to know to select the perfect motorcycle helmet for your needs.
-
Determine the Type of Helmet You Need
Motorcycle helmets come in different types, each offering varying levels of protection, comfort, and style. Here are the most common types:
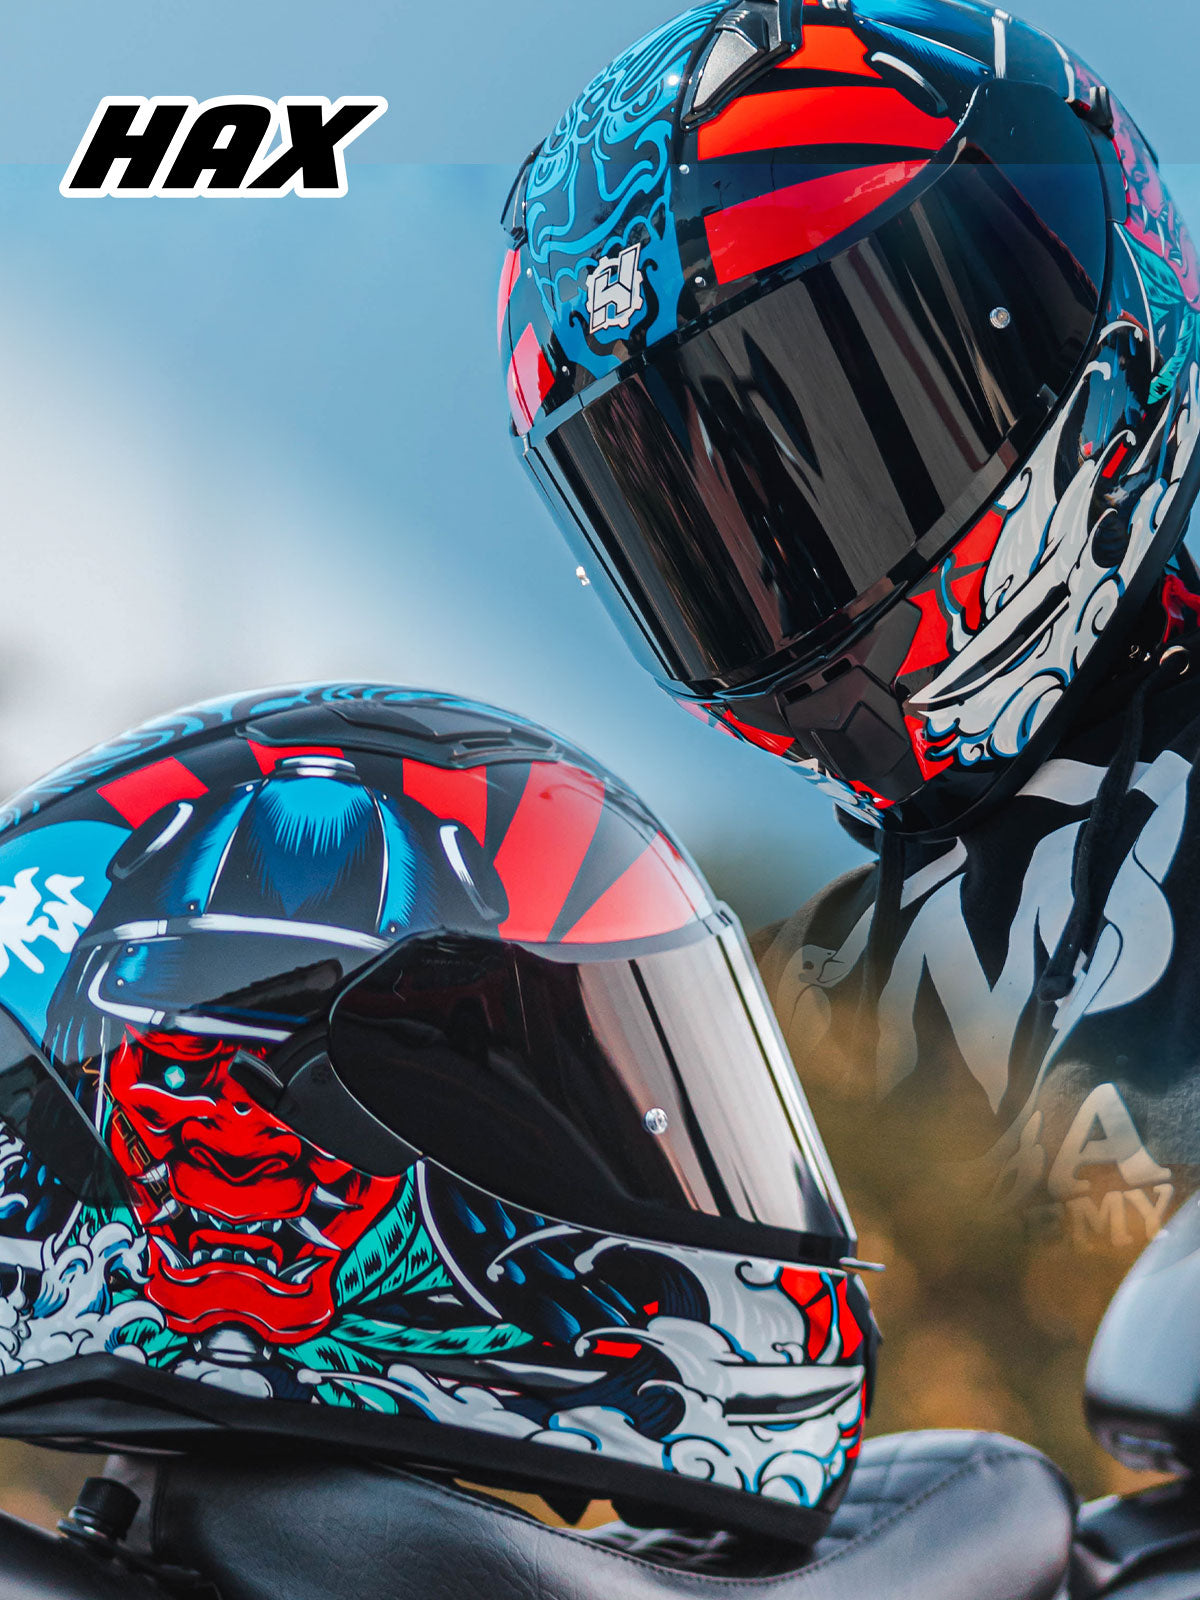
a) Full-Face Helmet
✅ Best for: Maximum protection, long rides, highway speeds.
✅ Pros: Covers the entire head, including the chin; best protection against impacts, wind, and debris.
✅ Cons: Can feel hot in warm weather.
b) Modular (Flip-Up) Helmet
✅ Best for: Touring riders, city riders who need flexibility.
✅ Pros: Chin bar flips up, allowing for better ventilation and conversation.
✅ Cons: Slightly heavier than full-face helmets due to the hinge mechanism.
c) Open-Face (3/4) Helmet
✅ Best for: Cruiser riders, scooter riders.
✅ Pros: Lightweight and offers a better field of vision.
✅ Cons: No chin protection, less safe than full-face helmets.
d) Half Helmet
✅ Best for: Low-speed riding, vintage-style riders.
✅ Pros: Lightest and most breathable.
✅ Cons: Offers minimal protection, especially for the face and chin.
e) Off-Road (Motocross) Helmet
✅ Best for: Dirt biking, motocross, adventure riding.
✅ Pros: Designed for rough terrain with an extended chin guard and visor.
✅ Cons: Not ideal for street riding due to lack of a built-in visor.
f) Dual-Sport Helmet
✅ Best for: Adventure riders, those who ride both on and off-road.
✅ Pros: A mix of full-face and off-road design, offering versatility.
✅ Cons: Can be bulkier than standard street helmets.

2. Ensure the Right Fit and Size
A helmet that doesn’t fit properly won’t protect you adequately. Follow these steps to find the right fit:
Step 1: Measure Your Head
Use a soft measuring tape and wrap it around the widest part of your head, just above your eyebrows. Compare the measurement with the size chart provided by the helmet manufacturer.
Step 2: Try It On
The helmet should fit snugly but not cause discomfort.
There should be no gaps between your head and the padding.
When you move your head, the helmet should not shift excessively.
Step 3: Perform the "Shake Test"
Put the helmet on and try shaking your head. It should move only slightly.
If it moves too much, it's too big; if it's too tight, it may cause discomfort during long rides.

3. Check for Safety Certifications
Not all helmets offer the same level of protection. Always look for these safety certifications:
✔ DOT (Department of Transportation) - USA
Minimum safety standard required in the U.S.
Ensures the helmet meets impact absorption and penetration resistance tests.
✔ ECE (Economic Commission for Europe) - Europe
More rigorous testing than DOT.
Required in over 50 countries.
✔ SNELL (Snell Memorial Foundation) - High-Performance Standard
Voluntary standard with extremely strict testing.
Recommended for racing and high-speed riding.
✔ SHARP (Safety Helmet Assessment and Rating Programme) - UK
Provides a star rating system for helmet safety.
Always choose a helmet that meets at least one or more of these certifications.
4. Consider Helmet Weight and Comfort
A helmet that is too heavy can cause neck strain over long rides. Look for:
✅ Lightweight materials like carbon fiber, fiberglass composite, or polycarbonate.
✅ Adequate ventilation for airflow, especially in hot climates.
✅ Soft inner padding that provides a comfortable fit and absorbs sweat.
5. Choose the Right Visor or Face Shield
Your helmet’s visor plays a crucial role in visibility and protection. Consider these options:
Clear Visors – Best for night riding and general use.
Tinted/Smoked Visors – Reduce glare in bright conditions.
Photochromic Visors – Automatically adjust to lighting conditions.
Anti-Fog & Anti-Scratch Coatings – Essential for clear vision in all weather.For night riding, avoid heavily tinted visors as they reduce visibility.
6. Look for Additional Features
Some helmets come with extra features that enhance convenience and safety:
✔ Bluetooth Compatibility – Allows for hands-free calls and navigation.
✔ Integrated Sun Visor – A drop-down sun shield for bright conditions.
✔ Emergency Cheek Pad Release – Helps paramedics remove the helmet safely in case of an accident.
✔ Pinlock System – Prevents visor fogging in cold or rainy weather.
7. Set a Budget, but Don’t Compromise on Safety
Helmets vary in price based on materials, features, and brand reputation. Here’s a rough price guide:
💲Budget Helmets ($50 – $150): Basic safety, minimal features.
💲Mid-Range Helmets ($150 – $400): Better materials, comfort, and extra features.
💲Premium Helmets ($400+): Lightweight, advanced safety, and high-end comfort.
